Growing Fruit Trees in Pots: A UK Patio Guide
October 10, 2026 - Gardening Tips

October 10, 2026 - Gardening Tips
October 07, 2026 - Varieties
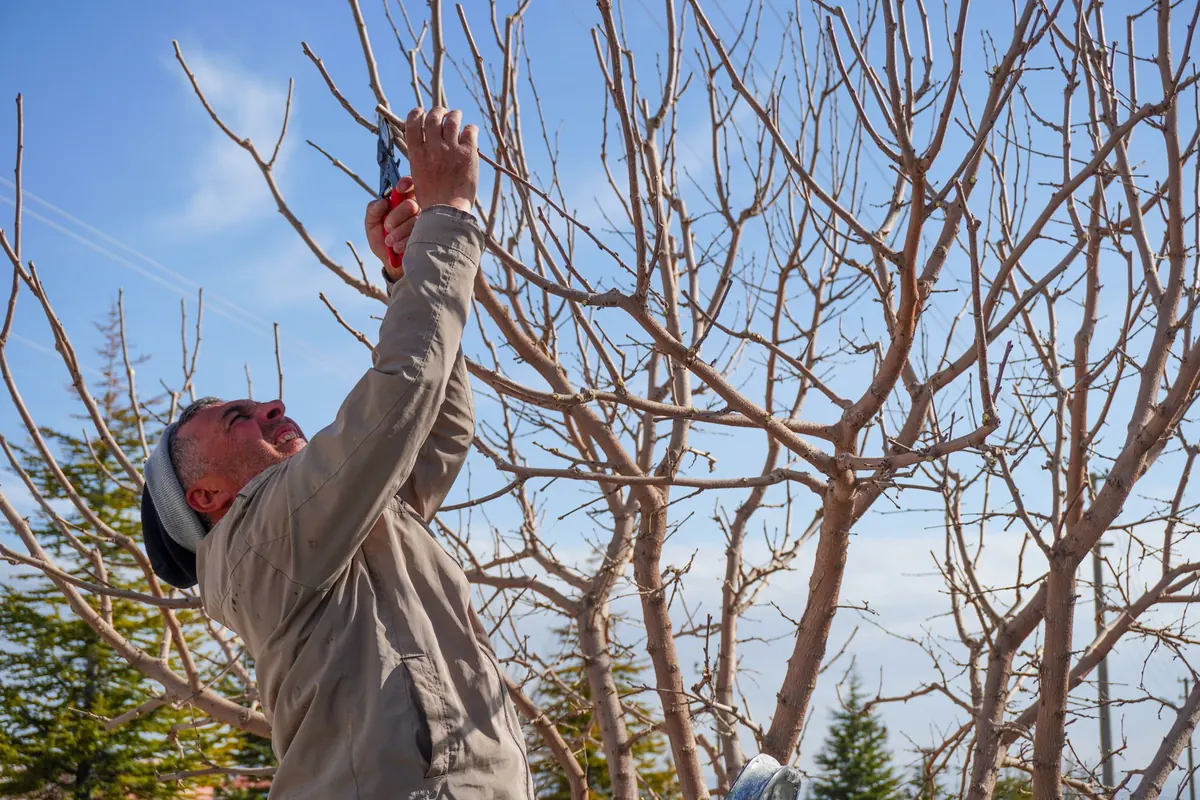
Apple trees are forgiving, but they are not foolproof. Prune at the wrong moment, remove the wrong wood, or cut badly, and you can lose a year’s crop, invite disease, or turn a neat tree into a thicket of watershoots. The good news is that most pruning mistakes are easy to avoid once you know what to look for. Here are seven that catch out gardeners again and again — and how to sidestep them.
Apples are dormant in winter. The traditional window is late winter: after the worst frosts but before buds break. In most UK gardens, that means late January to early March, depending on where you are. Pruning then gives the tree time to seal wounds as growth begins.
Autumn pruning is the classic error. The tree is shutting down, wounds callous slowly, and wet weather gives fungal spores an easy route in. Avoid pruning in hard frost either, as brittle wood snaps. Summer pruning has a place, but mainly for trained forms — cordons, espaliers and fans — where you cut back new growth in late July or August to keep the shape and encourage fruiting spurs. Don’t use summer pruning as a substitute for winter structural work on a free-standing tree.
On many apples, fruit buds sit on short, stubby spurs on wood that is two years old or more. They look like tiny knuckles or wrinkled buds. If you tidy these off with the secateurs, you remove next year’s apples.
Learn the difference: fruit buds are usually plump, round and slightly downy; growth buds are flatter, sharper and lie closer to the stem. When in doubt, leave it. Some varieties also carry fruit at the tips of shoots, so avoid shortening every branch tip in winter. If you are training a spur-bearing tree, summer pruning can encourage spurs, but it should not mean stripping them off.
It is tempting to cut back hard, especially on a neglected tree. Resist. Apples respond to heavy pruning by pushing lots of strong, upright shoots. These shade the centre, rub against each other and rarely fruit.
A useful guide is to remove no more than about a quarter of the canopy in one winter. If a tree has not been pruned for years, spread the work over two or three seasons. Start by taking out the worst congested wood, then reassess next winter. Prune little and often rather than giving the tree a shock.
A flush cut slices through the branch collar — the slight swelling where branch meets trunk. That collar contains the tree’s natural defence zone. Remove it and the wound is larger, slower to seal and more likely to rot.
The right cut sits just outside the collar, angled slightly away from the trunk. You should see a neat oval wound, not a flat face pressed against the trunk. If you can’t see the collar on a large branch, make a small cut first and look again; don’t guess with a saw.
Leaving a long stub is almost as bad as cutting flush. The stub dies back, the wound cannot seal properly, and you often get a cluster of weak shoots below it.
Cut back to a healthy outward-facing bud or a well-placed side branch. For a branch, cut just outside the collar. For a shoot, make the cut about 5mm above a bud, sloping away from the bud so water runs off. Don’t leave 10cm of dead wood and hope the tree will sort it out.
Blunt secateurs crush rather than cut; a blunt saw skips and tears. Both leave ragged wounds that heal slowly. Use bypass secateurs for stems up to about a finger’s thickness, loppers for thicker green wood, and a sharp pruning saw for branches.
On anything bigger than your wrist, use the three-cut method: first an undercut a little way out from the trunk, then a top cut slightly further out to remove the weight, then a final cut back to the branch collar. That stops the branch tearing a strip of bark from the trunk. Clean your tools between trees if you have been working on diseased wood.
Many gardeners start snipping at the top and never get to the real problems. Before you make any creative cuts, work through the obvious candidates.
Deal with these first. Then step back and look at the tree from several angles. The aim is an open, goblet-like centre with well-spaced branches, not a perfectly clipped shape. If you can see through the tree without it looking hollow, you are close.
Start with clean, sharp tools and a plan. Work from the ground up, removing dead, diseased and crossing wood first. Then thin the centre just enough to let light and air through. Leave fruiting spurs alone, and make every cut back to a bud, side shoot or branch collar.
After each branch, step back — it is easier to avoid over-pruning than to correct it. If your tree is old, diseased or trained in a complicated shape, or you are unsure about a large limb, consider asking a qualified fruit-tree pruner for advice. A little care now will give you better apples and a healthier tree for years.
Photo: mehmetography / Pexels
Dwarf rootstocks, the right pot and steady watering turn a small patio into a productive orchard. Here is how to...
Reliable apple varieties for UK orchards that resist scab, mildew and canker, so you can spray less and still pick...
October 10, 2026 - Gardening Tips
October 07, 2026 - Varieties
Copyright © 2026 Orchard Zone. All Right Reserved.